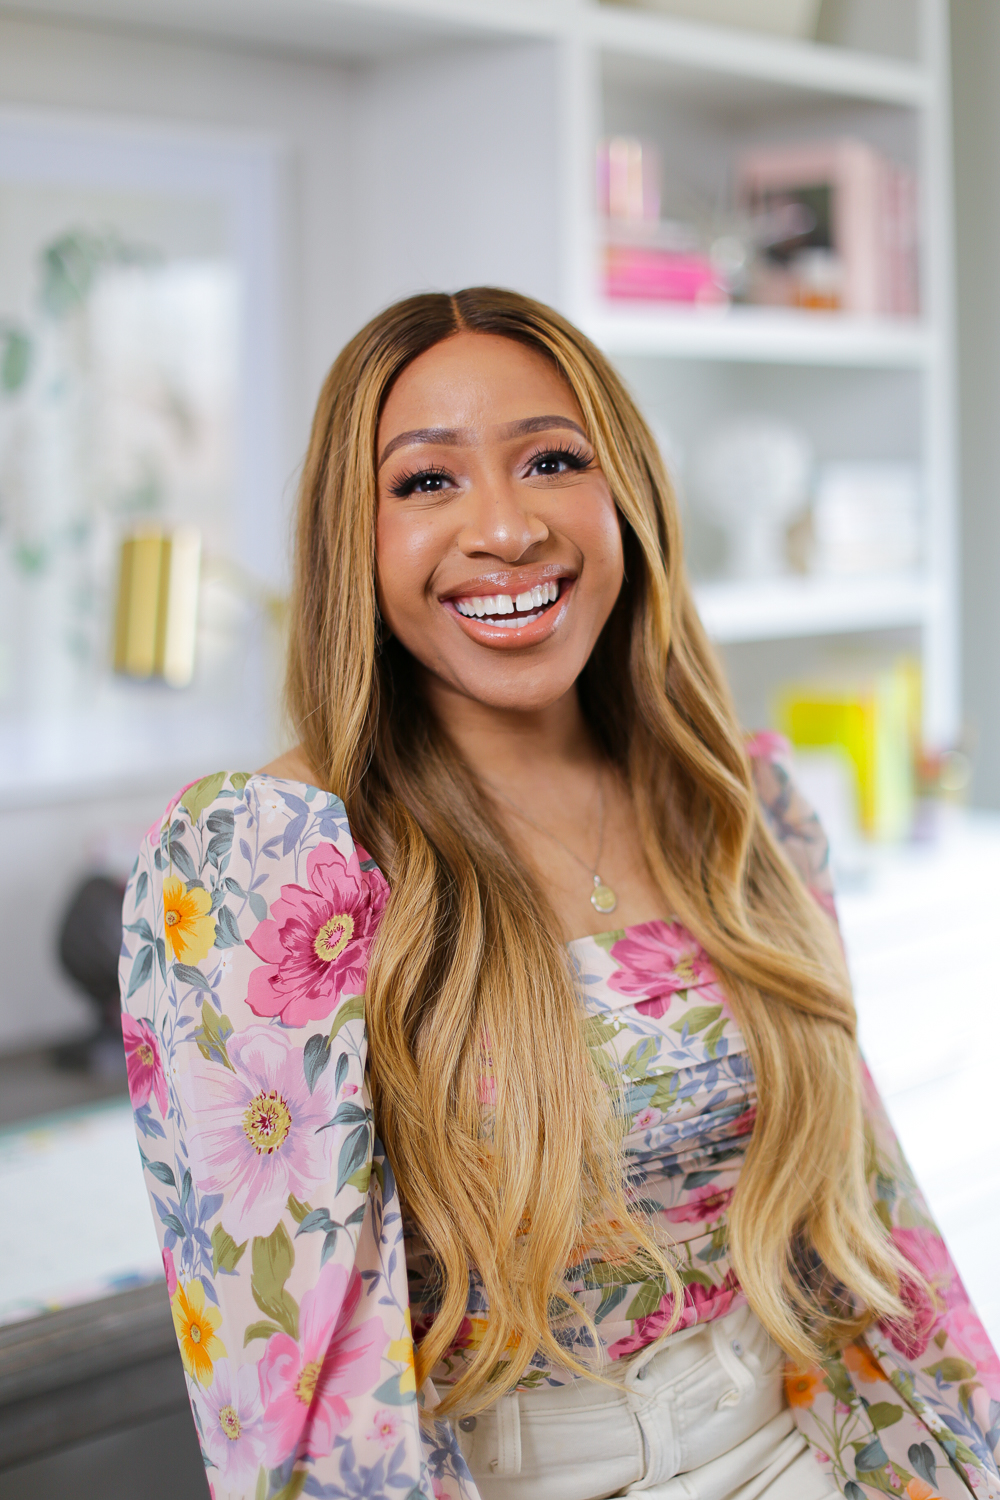
I often get a lot of questions on what cameras & tools I use to create content. While I’ve shared via Instagram Stories and even done a brief version of answering the question on my #AskMattie series on IGTV, I wanted to write a detailed blog post to answer your questions in depth. I’ve been creating content as a blogger and influencer for the last 9 years, but I think I’ve only been good at it for like 5 (LOL!).
PHOTOGRAPHY // Erica Simmons
The gamechanger for the quality of my content – aside from content planning – was investing in a good camera, lens and tools to meet the standard of quality I wanted to reach. That meant that whoever I worked with – photographer, videographer, etc. – they would meet my standard at the minimum because I actually had the tools.
I am far from a techie, but I am also someone who is not afraid to do her research, ask questions and even test out items (by renting them) before making such a big purchase. What I also did before making big camera or lens purchases was question my photographer friends about their thoughts about what I was going to purchase.
Another thing that is very helpful is reading the reviews on sites like Amazon or B&H Photo. People are generally pretty transparent about their personal experiences with products and that gives you an idea of what type of expectation to set.
Below, are the cameras and tools I use to create blog, YouTube and podcast content (in no particular order).
Canon 6D + 24-70mm f/2.8L Lens
What we use to shoot style, beauty & lifestyle posts
I purchased the Canon 6D Mark ii (there’s a Mark iii, now) about 4 years ago after using the Canon Rebel T3i for years. (The Rebel is the best starter camera for a beauty or style blogger in my opinion because of price and capability.) I decided to upgrade to the Canon 6D because I had heard good things about it and it processes photo and video faster than the Rebel because of its sensor. It also has a range of 100 to 25600 ISO and is a full frame camera (like the 5D and 7D). The 6D is Canon’s most affordable full frame camera which had a lot to do with my purchase.
When I purchased the Canon 6D, I also decided to upgrade my lens. Lenses are everything when it comes to photography and they can cost a pretty penny. After doing research and being real about my budget, the 24-105mm was the best choice. It’s a good lens, but I had my eyes set on another one and I saved up for a while to get it. I used the 24-105mm for two years before upgrading to the 24-70mm lens. In my opinion, the 24-70mm lens is a game changer because it has more range with a large aperture. It’s a wide angle lens and the autofocus processes faster than the 24-105mm. Basically, it makes the subject super sharp and blurs your background beautifully (depending on your settings) – for both photo and video.
While I purchased my camera and lens brand new, buying a camera and/or lenses used like new or in great condition is another great option, if you have a smaller budget. It takes off anywhere from $100-$500 off the price and you get a quality product.
What we use to film vlogs, BTS and some YouTube videos
Obsessed with my vlogging camera. (Which means I should post more vlogs, right?! LOL.) The Canon 6D with the 24-70mm is the big body and just a bit much to do everyday vlogging with. So I decided to purchase a smaller camera for those moments I don’t want to deal with th big camera. The Canon M50 was just perfect.
To be transparent, my intention was to buy the Canon G7X for my vlogging camera because I heard such great things about it. But when I got to the store and compared the two, the M50 was a better pick for me. The Canon M50 is a mirrorless camera which is lighter and faster + better for video. And even though it comes with less lens options than a DSLR, the results are worth it. In my personal opinion, the photo AND video of the M50 are better than the G7X.
While the purpose of this camera was to film more vlog style videos, I wanted something that would also take great photo in the case I didn’t have my DSLR with me. This did it for me. Being able to compare it to other cameras in the store was definitely the proof I needed to see before making a purchase. The standard lens for the Canon M50 is the 15-45mm lens. It’s low fuss so even if you’re a photography novice, you can easily learn how to use it without too much trouble. The Canon M50 also comes with an LCD touchscreen that swivels with “vari-angle” and faces you so you can see what angles you’re filming or shooting in “selfie” mode. This is my favorite characteristic of the camera because you can see exactly what you’re filming and easily tap the screen to put it in focus (when it’s in autofocus).
To my surprise, many of you ask about my podcast set up. When Chris & I started our podcast he purchased all the fancy equipment for an elaborate set up – a recorder, dynamic mics, mic stands, etc. It’s really good and the sound quality is great. However, setting up takes some time and when I record myself, I don’t want to go through all of that. So my go to for recording podcasts is the Blue Yeti USB Mic. It’s so easy to use – you literally just plug it into your laptop with a USB and adjust the settings on the mic. If you’re not a techie and working with a limited budget, the Blue Yeti USB Mic is very user and budget friendly friendly.
Adobe Lightroom
When it comes to editing photos, we use Lightroom with a couple of presets from photographers Marrica Evans and Chasing Denisse. Erica (who shoots and edits my photos) took some time out to identify exactly how I want my photos to look and feel when they’re on Instagram and the blog. It was important to us to create consistency in branding when it came to the photo content. Marrica and Denisse have great presets that flatter my skin and match my branding. Lightroom is great because you can edit on mobile and desktop. While someone else usually edits my photos, I have Lightroom and have played around on it extensively to understand how to get the look I’m trying to achieve. That way if I don’t get the results I want, I can explain what to tweak to my photographer with more clarity. I love that kind of flexibility.
Final Cut Pro X
You’ll notice that we’ve been putting in a lot more effort with video content creation. Posting consistently on my YouTube channel is a priority for 2019 and was one of my biggest goals. To edit videos, we use Final Cut Pro X. We’ve been using FCPX for the last couple of years and it has really served us. You can purchase separate transition and title plugins to elevate your video even more from sites like Pixel Film Studio. While I only edit my vlogs, Ireál who produces my videos uses FCPX for all my other videos – even the ones we create for Instagram or IGTV.
GarageBand
Last but not least is my go to podcast editing software – Garageband. It’s the default audio editor from Apple. It’s pretty user friendly which was important to me so I could create a simple process for editing my podcast episodes. This is probably the easiest to use out of all of the software I use and it’s the only free one. Go figure. If you were looking for a fancy software to editing your podcast with because you thought Garageband might not be sufficient, look no more. It absolutely is.
Hopefully sharing what cameras and tools I use to create content gave you guys a better idea of how we accomplish the things we do for content. This was fun for me share with you. What would you guys like to know next?